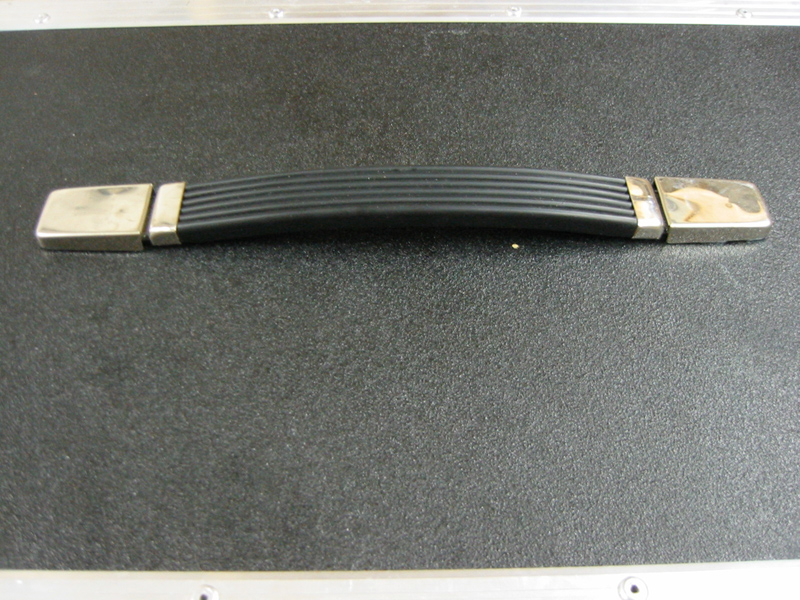
I decided to write a little article on this, because at flightcase-brico.com people often ask us how they should fix an external-mount handle on a flight case. More specifically, this concerns the large and medium strap handles from our web shop.
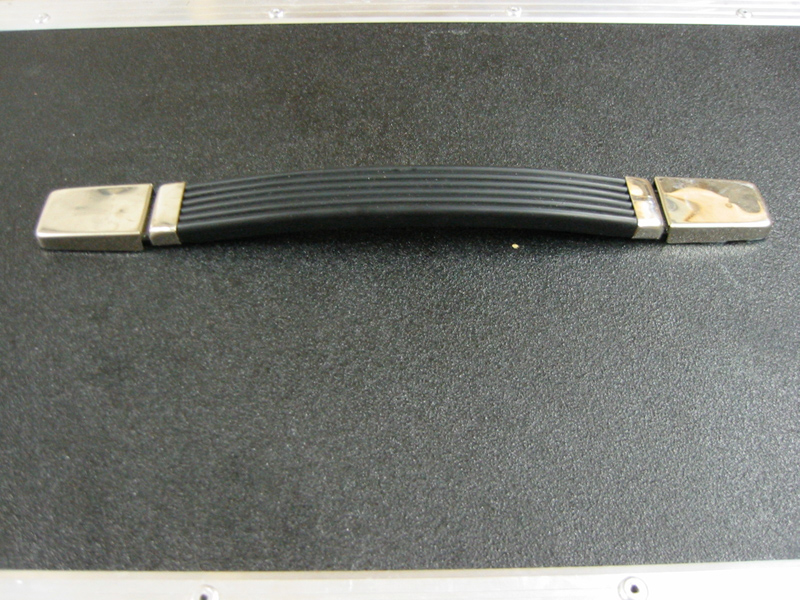
We use the mounting kits for strap handles, also available in the web shop. There is one mounting kit for the large handles and one for the medium ones. For this particular example, we’ll be putting on a large strap handle, but of course you can follow the same steps to put on a medium one as well. The only difference is that a medium handle will be fixed with 2 bolts, while a large one will need 4.
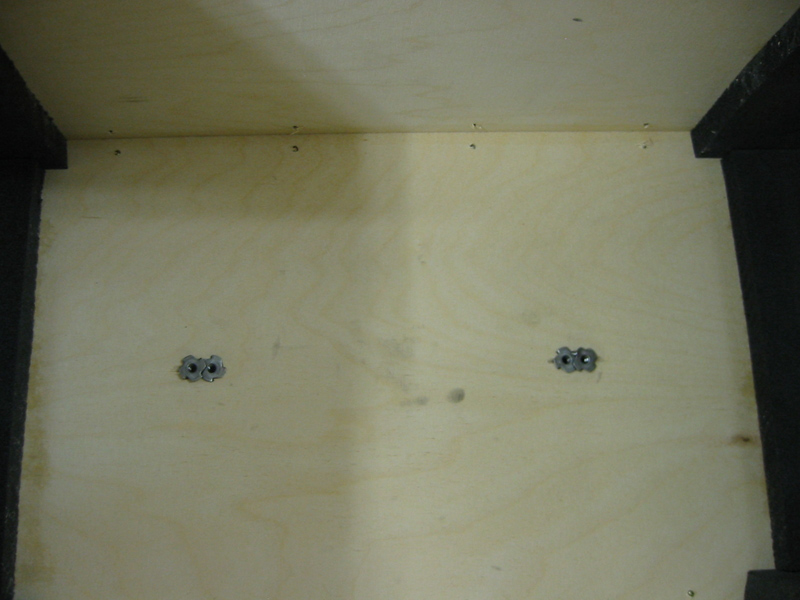
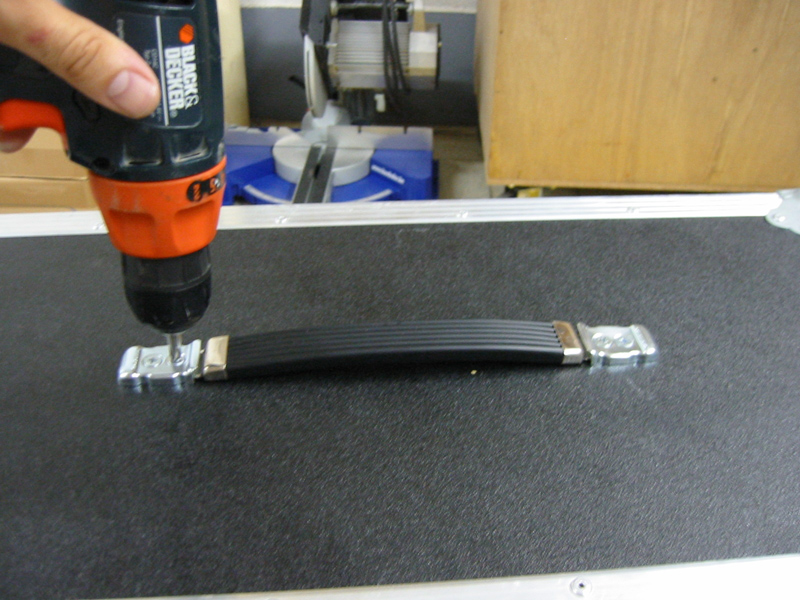
We start by putting the handle with its two metal fixing plates flat on the wood (see the photo above). Then we make the holes with a 6 mm drill bit for wood. Now put the handle aside for a moment, because we’ll fix the teenuts on the inside of the flight case first. You can try to bang the teenuts in on the inside with a hammer, but if this doesn’t go very well, it’s better to use the trick with the metal washers I explained in Tips for teenuts, which uses the force of the bolt to draw the nut into the wood nice and evenly.
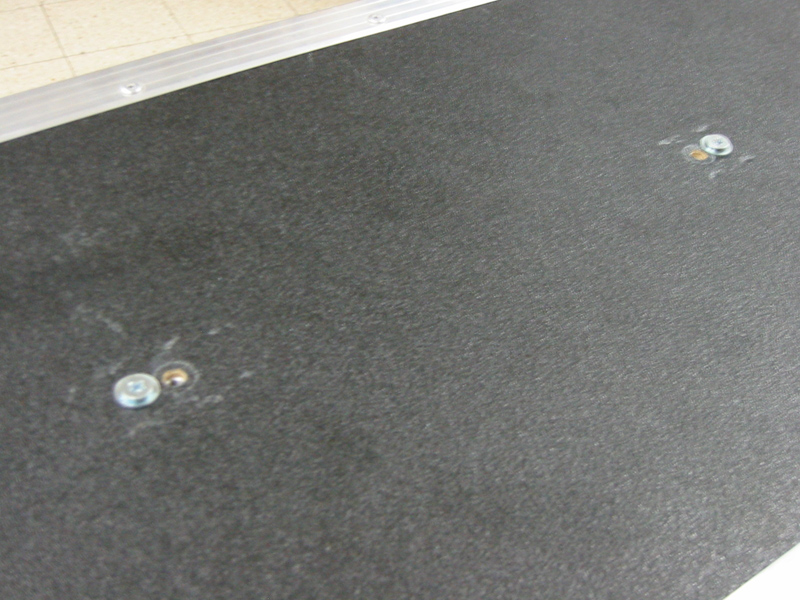
Now we’re ready to fix the handle: put it in its place with the two metal fixing plates that have come with it, put in the screws and screw them in sufficiently so they can’t come loose, but not too tight, because this could twist the metal ends. The large strap handle comes with caps to cover up the screws, as you can see in the photo. The medium handle doesn’t have these, so the heads of the screws will remain visible.
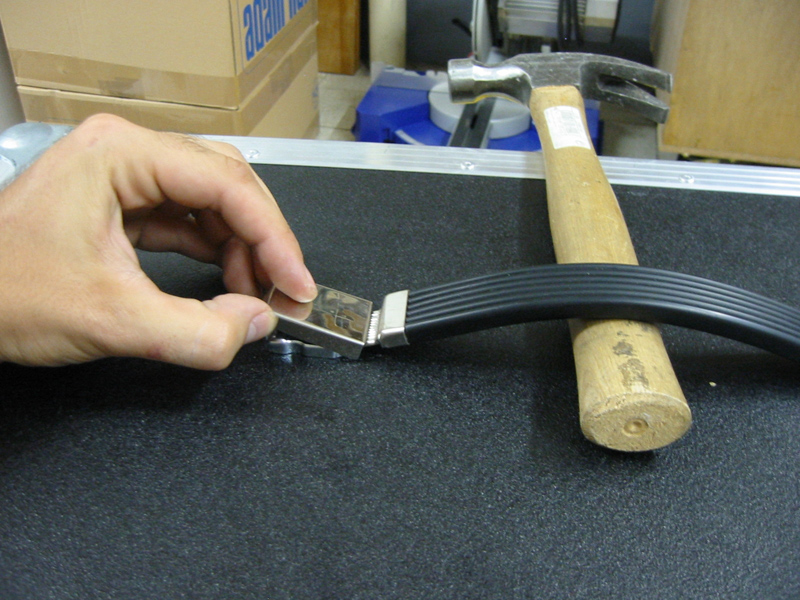
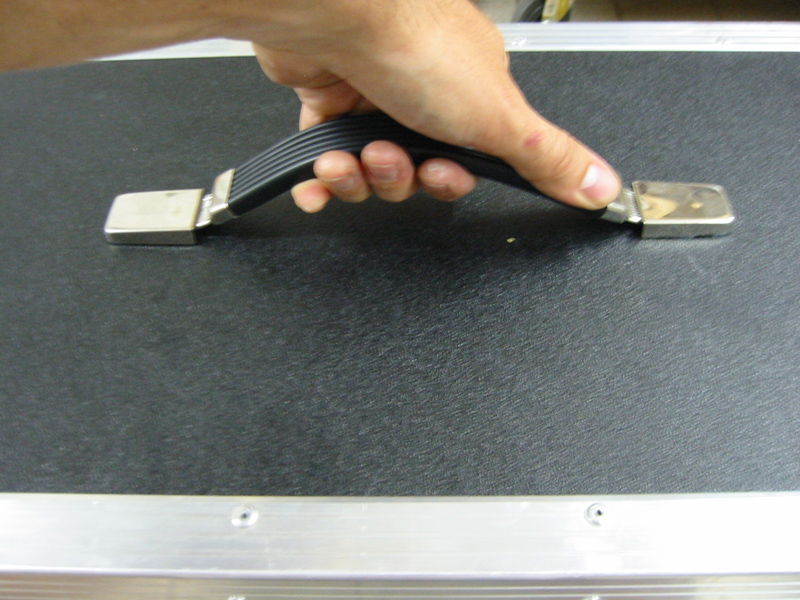
The last two photos below show you how a strap handle works: the left picture shows it flat against the case, in rest; on the right one, the case is carried with the handle, flexing it.
