The easiest way of working - I find - is with the box method. This means we’ll build a (closed) wooden box first which we’ll saw in two (preferably with a fretsaw), so we end up with two pieces (that fit perfectly on top of each other!): the bottom of the flight case and the lid.
How to do this exactly? First you measure the object you want to transport in your flight case. The loudspeaker for my project is 40 x 50 x 65.5 cm. But I also want to put a layer of 1.5 cm hard foam all around the inside to protect it, and I need half a centimetre extra everywhere, so the inside of my wooden box must measure 44 x 54 x 69.5 cm. As I’ll be working with the flight case wood on flightcase-brico.com (1 cm thick), the outside then has to measure 46 x 56 x 71.5 cm. In theory I can get cracking with this straightforward calculation, but it’s best if I take the lid location into account already, as this’ll be fitted in between the lid and the bottom of the flight case. It’ll take up about 1 cm. So if I don’t want to have to take off another centimetre later, after I’ve sawn my ‘box’ in two pieces, it’s best to deduct 1 cm now already. So the outside measurements of my box should be 46 x 55 x 71.5 cm.
Now I’m going to saw the 6 pieces of plywood I need for the box:
- 2 panels of 71.5 cm x 53 cm
- 2 panels of 53 cm x 44 cm
- 2 panels of 71.5 cm x 46 cm
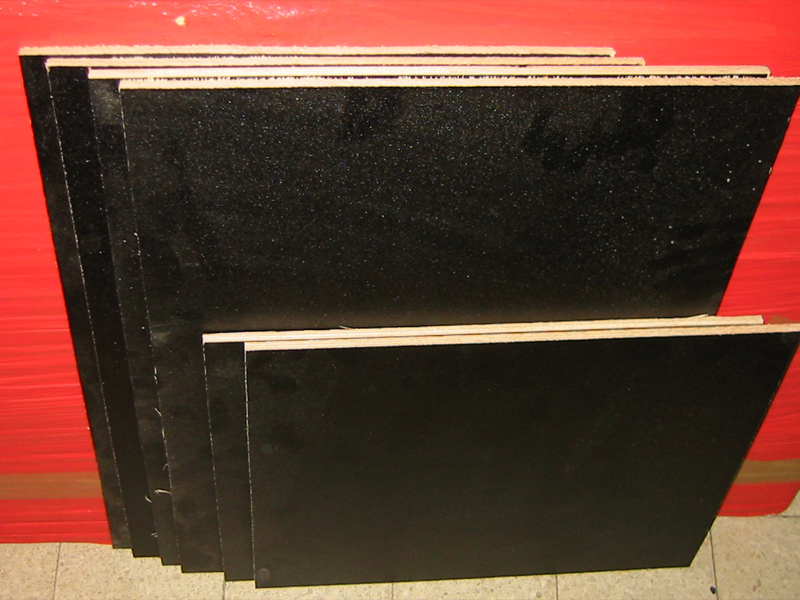
(Another advantage of using 1 cm plywood is the fact it’s easy to calculate measurements with!)
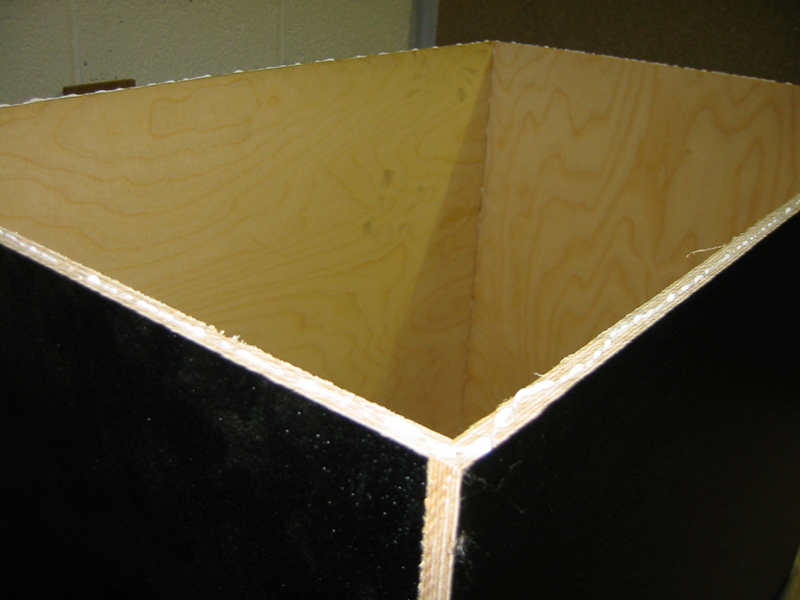
Depending on the tool you’re using, it’s possible that very small pieces of ‘veneer’ will sometimes be chipped away on the line you’re sawing along. Don’t worry about it, because the case angles and lid locations will cover it up later anyhow. You have to do some truly awful sawing to cause any visible damage that these extrusions can’t cover up.

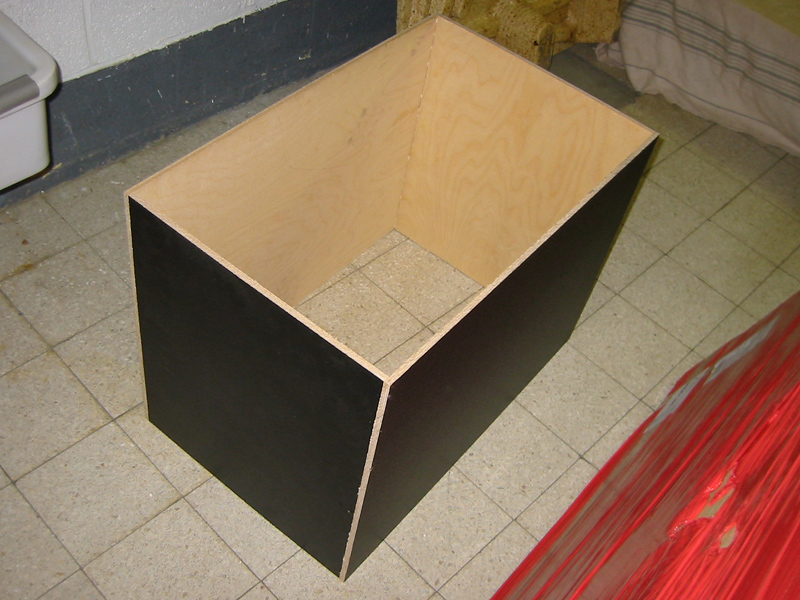
I start with putting the first four upright panels together with carpenter’s glue (or other woodworking glue) and small nails. Some people prefer to use screws for this, but that isn’t easy, as the wood is only 10 mm thick. I find good glue the most important thing here. For the rest, small nails of e.g. 20 mm long, are enough. Alternatively you can use staples (if you have a staple gun), but definitely make sure, though, that the wood fits together properly everywhere and try to avoid banging the nails in crooked.
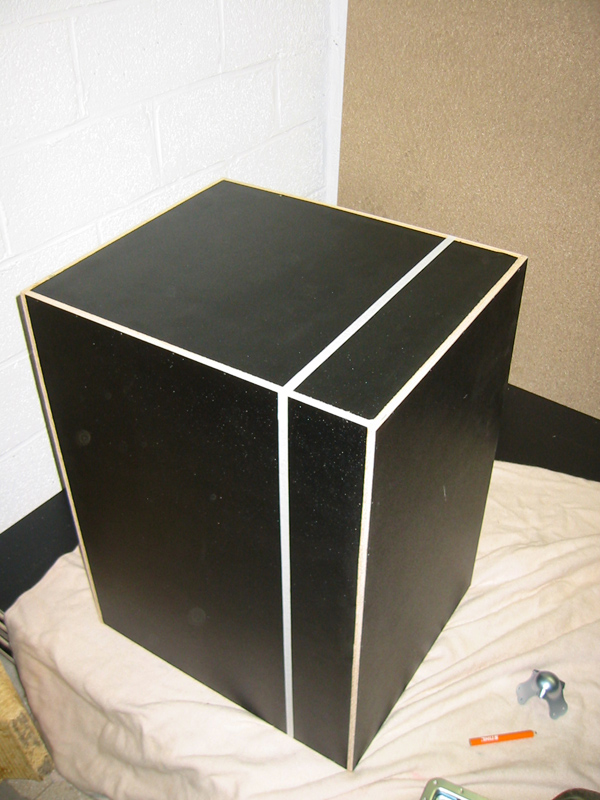
The top and bottom of the case are glued and nailed on last. These two panels will make sure the whole box becomes a proper case with perfect right angles.
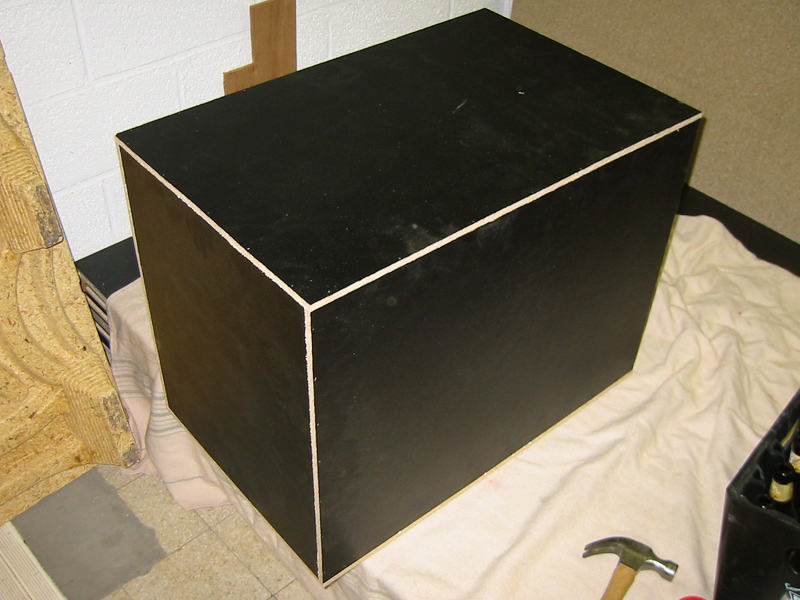
So now you’ve got a box of 46 x 55 x 71.5 cm. At this stage it’s best to wait for the glue to dry before you saw it in two.
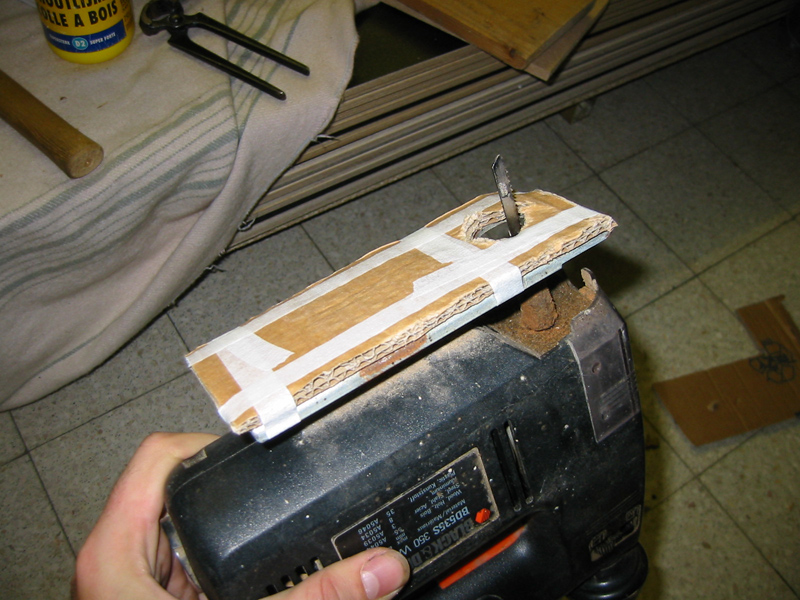
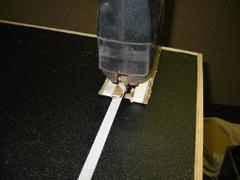
The easiest way to cut your wooden box in two is with an electric fretsaw. Because mine isn’t that new anymore, I’m going to stick a thin layer of cardboard on the supporting surface, just to be safe. This way I can be sure that my brand new flight case wood won’t get damaged.
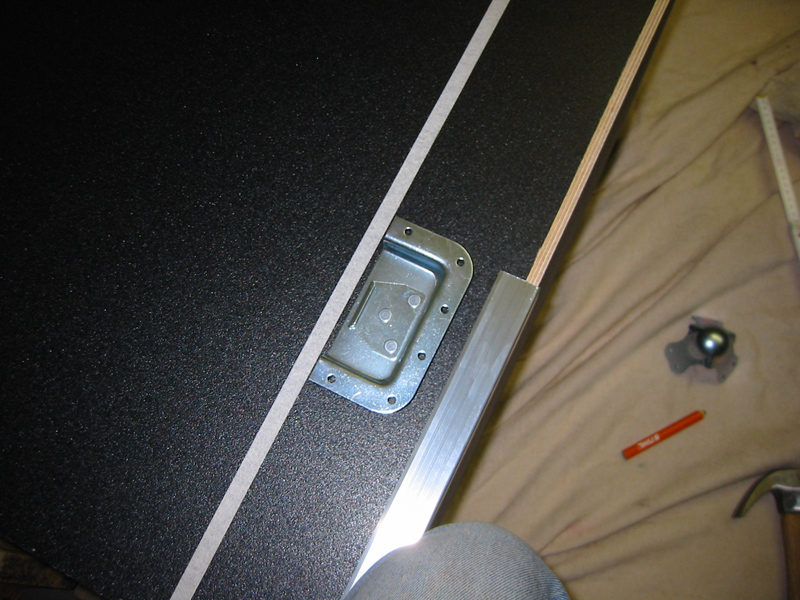
However, I have to be careful where exactly I saw the case in two, because I still have to leave enough space on the small part to fit my case angle and part of the butterfly latch, preferably without having the two overlap as well. Because a carpenter’s pencil doesn’t write that well on the somewhat rough surface of the flight case wood, I’m using a bit of masking tape, which you can find in any DIY shop, to mark the line I’m going to saw along. It’s great, because it’s also easy to remove without leaving traces of glue behind.
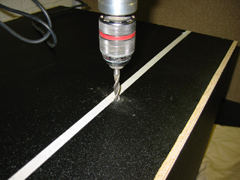
Before I can start sawing, I drill a hole with a wood drill on the line I’m going to saw, so I have a set-off point for my fretsaw. It doesn’t really matter where you make the hole. It’ll be covered by the lid location later anyway.
Now the wooden part of the case is ready and I’ve competed this step.

To the next step => Step 3: lid locations