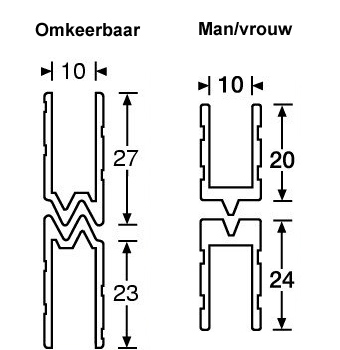
The aluminium lid locations will be fitted over the edges of the two wooden parts of your case. Actually they mark the boundary between the lid and the bottom of your flight case. You can choose whether you’ll be working with the classic male and female ones (male on the bottom, female on the top, or the other way round) or with the hybrid ones. You’ll find both kinds in the web shop at flightcase-brico.com. I personally prefer the hybrid ones, because they’re a bit easier to work with and there’s less waste. It’ll all become clear in a minute.
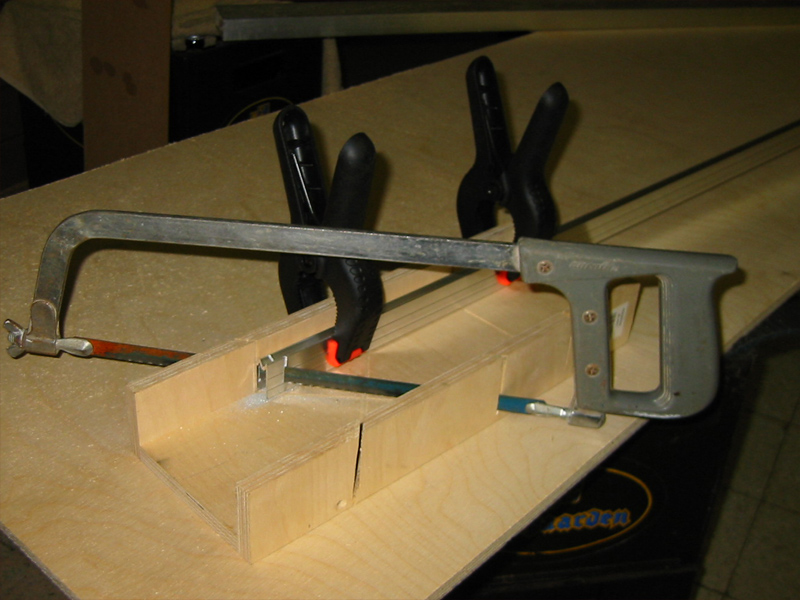
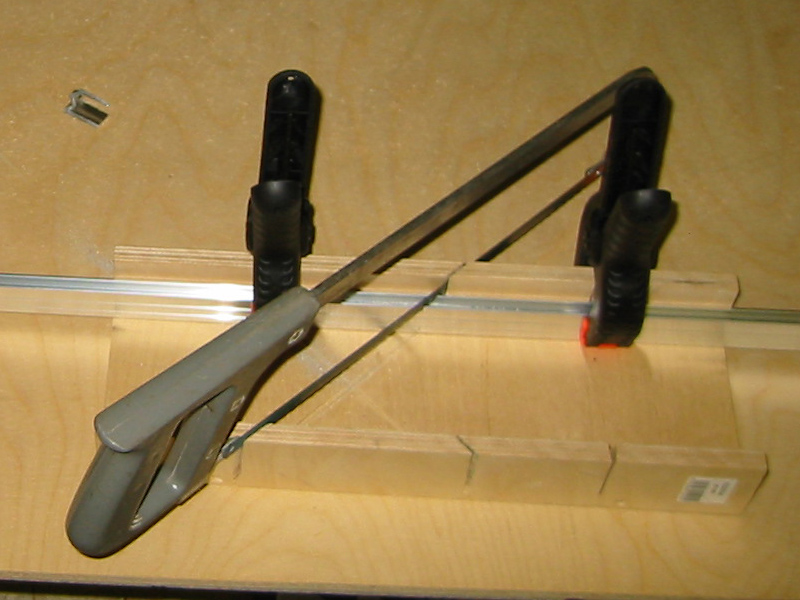
First I start with sawing the 45° angle on my lid location with my manual hacksaw and mitre box. Use clamps to fix the extrusion firmly in place before you start sawing, or even better: use a manual or electric mitre saw. (I actually have an electric one, but I did this project manually especially for these step-by-step instructions.)
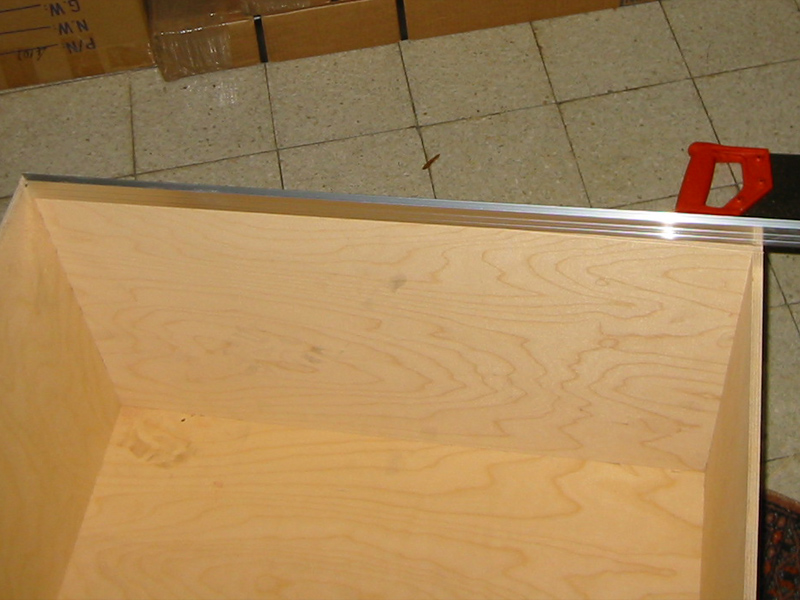
Put the sawn lid location on the wooden case with the slanted part pushed right into the corner. Then with a pencil or pen, mark the spot where you have to cut it in the other corner and saw it in the mitre box (the other way around, of course).
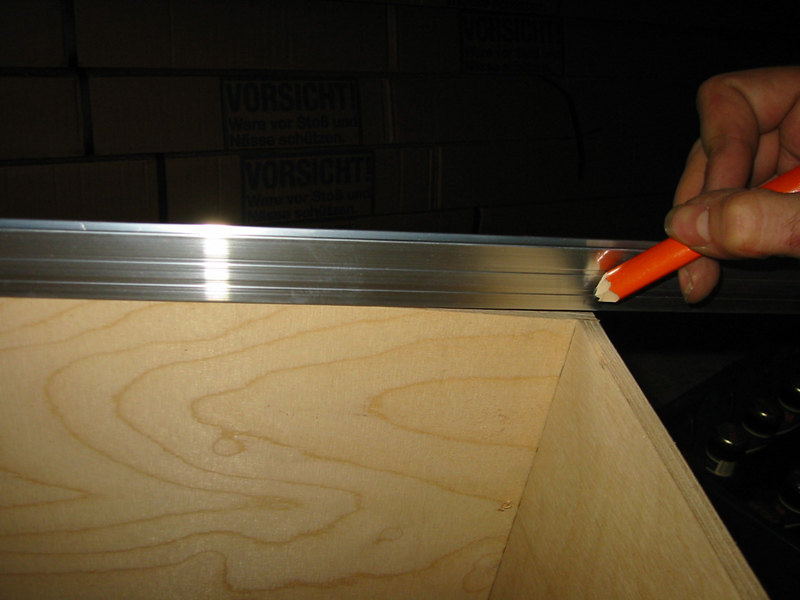
Put the rest of the extrusion on the other part of your case (yes, the angle you now have on the end of the rest of your lid location is already in the right direction - that’s the advantage of working with hybrid extrusions!), because it’ll fit nicely onto your first lid location. Mark where you have to saw here too and you’ve got your second lid location. Put the two on top of each other for a minute to test if they really fit together perfectly. Now cut the third lid location (again on the part of the case you started with earlier). The angle you’re starting with will be the right one again. Continue to put the pieces of lid location then on the one half and then on the other. The advantage of working with hybrid lid locations is that you always have the right angle to continue with.

The most important thing when making lid locations is that they have to fit together properly in the corners. So measure and saw very carefully.
Once you’ve sawn and fitted all eight pieces of lid location, you’re ready with step 2. You don’t really have to fix the lid locations yet, they’ll be fixed later with the corner braces in step 3.
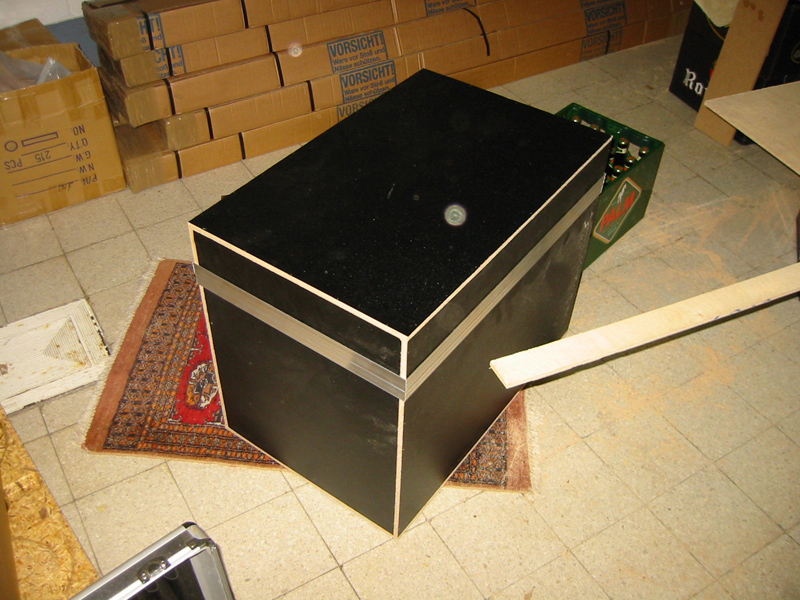
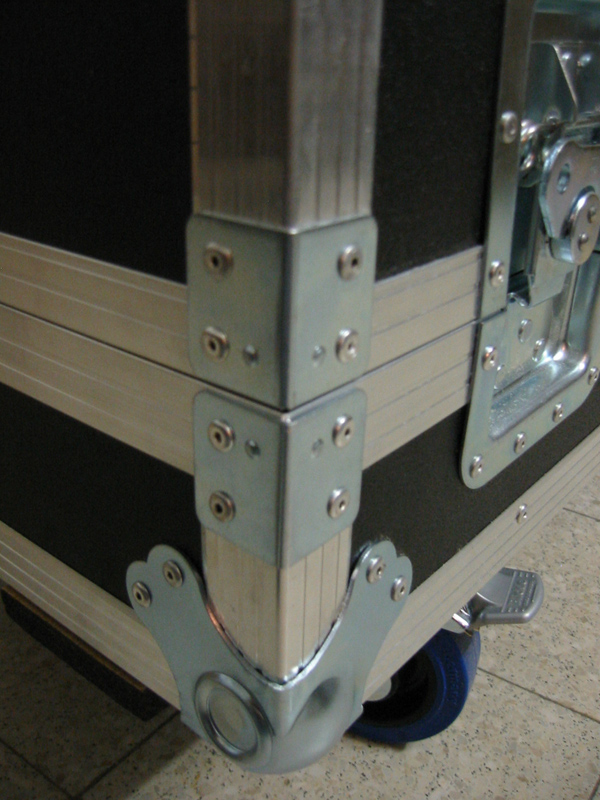
Photo one below shows the 8 lid locations when they’re ready. Photo two shows how the lid locations will be fixed later with the corner braces. Note: we won’t be fitting rivets in the centre of the lid locations, except where the corner braces are (and maybe where the butterfly latches, hinges or lid stays are).
To the next step => Step 4: case angles, corner braces and ball corners